For birthdays, anniversaries, and even graduations, having large cardboard numbers on hand for decoration or as props for a photo shoot is a lot of fun.
This same technique can also be used for letters if you wish to make a name or initials for an event or photo shoot.
These are fairly easy to make, low cost, and can be whatever size and colors you want.
MATERIALS
- cardboard
- contact paper, wrapping paper or similar for covering the cardboard
- duct tape or similar (optional)
- glue gun, glue sticks
- white glue (optional)
- exacto knife, scissors
1. Draw the letter or number onto cardboard. I used some circular items to trace around and a long ruler. You can print off the number/letter from your computer, cut it out, and trace around it too.
2. Cut out the number/letter.
3. Trace the number/letter onto another piece of cardboard and cut it out.
4. Cut a bunch of cardboard into strips. These will determine the thickness of the finished number/letter. Mine were 2" wide.
5. Use the glue gun to attach pieces of the strips at right angle to one of the number/letter cut outs. Start by gluing in the middle. These pieces give the number/letter strength.
Keep building up the middle.
6. Next, glue more strips around the outside edge of the number/letter. These will be the sides of the number/letter.
7. Glue the second letter/number cut out piece on top. I used white glue on the inside supports and a glue gun around the outside edges.
Trim any uneven areas.
8. Tape over any areas that the glue isn't holding well or are still uneven.
9. Cover the front and back with contact paper or similar, wrapping the edges of the paper around the sides. For curves, make relief cuts every inch or so to keep the edge smooth.
10. Cover the sides of the number/letter. I used duct tape but you can use more contact paper or similar or another kind of tape or even ribbon.
DONE!
Enjoy your party or photo shoot!
If I've said it once, I've said it a hundred times: you can NEVER have too many storage solutions.
I'm always trying to look at things in a different way in order to reuse or up-cycle things rather than recycle or throw them out. When my husband came home with ice cream in a sturdy plastic container with a tight-fitting lid, I knew I'd be reusing the container for storage.
Since I didn't really want the container to still look like it contained ice cream, I decided to cover it with duct tape. I'm really happy with the results.
MATERIALS
- empty plastic container with lid
- duct tape
- electrical tape (optional)
- exacto knife, scissors
1. Thoroughly wash and dry the container, inside and out.
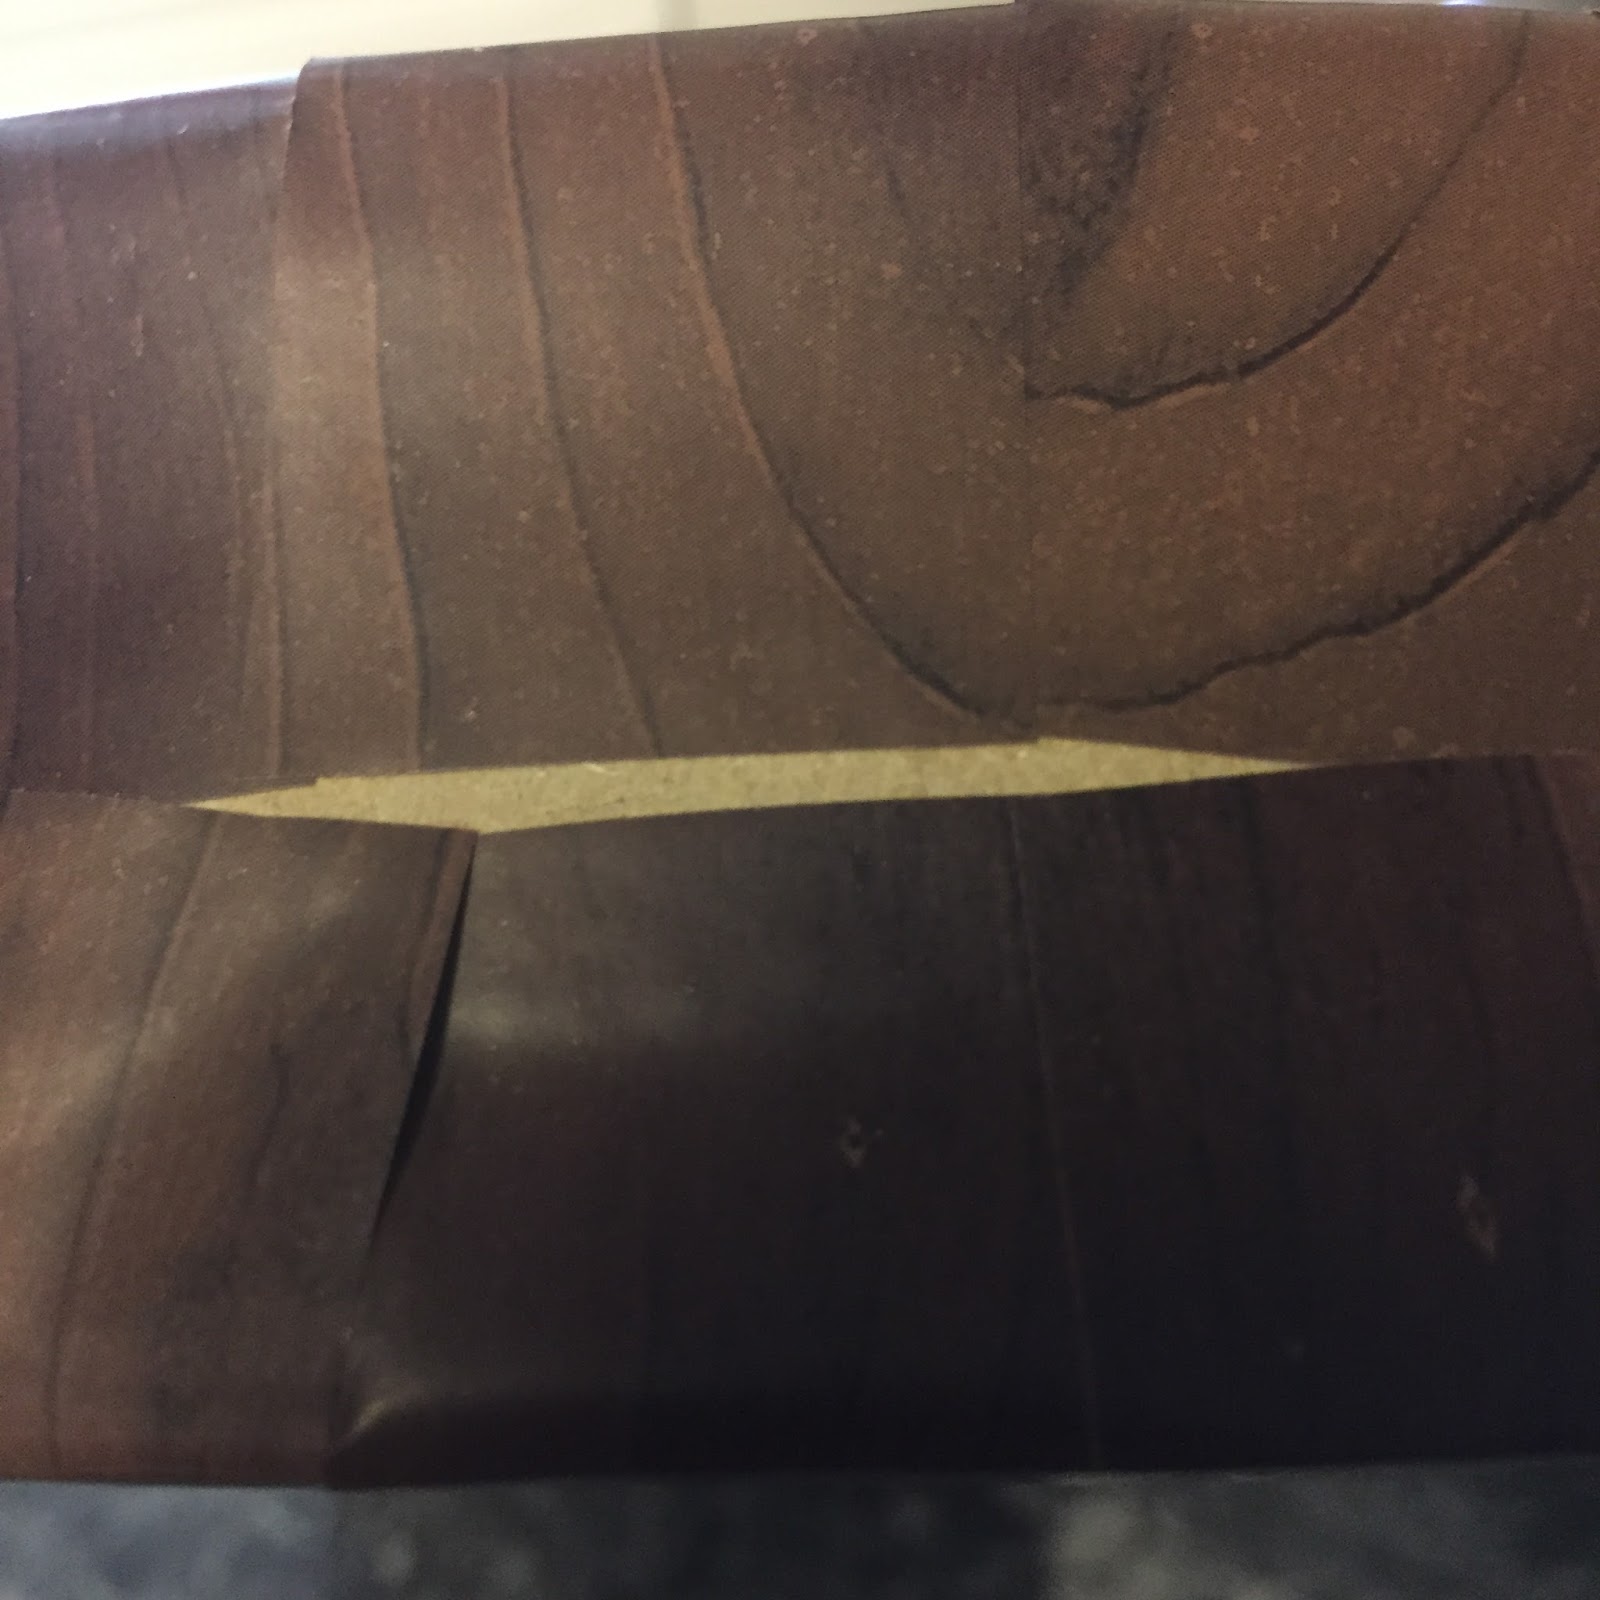
2. Wrap a strip of duct tape around the side of the container along the top edge of the area that you want to cover.
If your container has angled sides like mine, you'll have to cut slits in the duct tape with the exacto knife to get it to lay smoothly over the container.
3. Wrap another strip of duct tape around the sides along the bottom edge.
4. Since I had just a narrow gap between my strips of duct tape, I decided to use electrical tape to fill in the space and provide some interesting contrast. You can use another piece of duct tape if you prefer.
5. Apply a piece of duct tape to one side of the lid. Press it down firmly into the corners.
6. Use the exacto knife to trim away the excess tape in the corners.
7. Repeats steps 5 and 6 on the opposite side of the lid.
8. Cover the middle of the top of the lid with another piece of duct tape. Trim any excess.
9. DONE.
Pretty easy, right? The only thing I noticed once I was at this point was the stamped writing on the edge of my lid. I tried some cleaners and rubbing alcohol but couldn't get it off. After some more experimentation, I discovered that sticking a piece of electrical tape on the writing and peeling it off removed most of the writing.
Now you're really done. Enjoy decorating and filling your containers!
My niece was recently given a ukulele. It came in a fairly nice box, which she will be using as a case for carrying and storing her new instrument, but in her excitement to open it, she tore the box a bit. Naturally, I stepped in with a quick and easy way to make any storage box stronger and prettier: duct tape.
You can use this technique on any box. Duct tape is so versatile and comes in so many colors and patterns that you can easily upgrade a boring or flimsy box to fit your decor and needs. Who says that a storage box has to be boring?
Have a race car track in a box? Use black and yellow tape to look like a road around the sides. Have a punch bowl set in a box? Use colored tape to match your kitchen, dining room, or favorite beverage. Saving keepsakes or schoolwork in boxes in your kids' rooms? Use duct tape to make the boxes part of the decor. Have a ukulele in a box? Use your niece's favorite color duct tape to make it extra special for her.
MATERIALS
- box to be covered
- duct tape (I also used brown kraft paper tape but you can just use duct tape)
- white glue
- scissors
1. Start by repairing any damaged areas with tape. I like to tape both the inside and outside of any tears or cuts.
2. Reinforce the corners with white glue (allow to dry thoroughly) and tape. If the box is two pieces (like this one), make sure that they still fit together properly.
3. Wrap a strip of duct tape all the way around the box (I did just the lid for this one), lining the edge of the tape up with the edge of the box.
4. Wrap additional strips of duct tape all the way around the box, using the first strip as a guideline. I try to slightly overlap the strips so that no cardboard shows through. Use as many strips in whatever pattern you like to cover the box.
5. DONE! (I have found that some brands of decorative duct tape don't stay stuck, unfortunately. If you notice your tape lifting off at the end, just tape across it with some clear scotch tape or packing tape.) Enjoy storing your special items in their beautiful and sturdier boxes.
We were recently invited to a Mad Hatter themed tea party and I thought it would be fun if my son dressed up as a playing card guard to go with the theme. It was a quick and easy costume to create and the techniques can easily be adapted to suit other knight and guard costumes.
TUNIC
MATERIALS
- large shirt
- duct tape
- scissors
- exacto knife and cutting surface
- pencil
1. Cut the sleeves off the shirt (unless you don't want to damage the shirt, then just skip to step 2).
2. Stick duct tape onto the cutting surface. Overlap strips to create larger pieces, if necessary. Draw a design on the duct tape. Cut out your design. Carefully peel the pieces off the cutting surface and stick them onto the shirt. DONE. (The duct tape should be easy to remove once you're done using the costume.)
SPEAR
MATERIALS
- cardboard tube
- cardboard pieces
- duct tape
- scissors, exacto knife
- pencil
1. Decide on the design you want for the spear tip. I went with a simple diamond shape. Draw it onto a piece of paper or cardboard. Add a section approximately 3" long and as wide as the interior diameter of the cardboard tube (this is called the "tang"). Cut out this pattern piece and trace it onto more pieces of cardboard, then cut them out. I did six pieces. The tang might need to be narrower on your outside pieces of your pile in order to fit inside the tube.
2. Pile up the pieces and check to make sure that they fit into the tube. Make any necessary adjustments.
Glue the pieces together in a pile. Allow to dry.
3. Cover the tip and part way down the tang in duct tape. Slide into the tube to ensure that it still fits. Adjust if necessary.
4. Cover the cardboard tube in duct tape. Glue the tang inside one end of the tube.
DONE! Didn't I say "quick and easy"?
Having a specific space to put a toy once they're done playing with it helps encourage kids to clean up after themselves. This is especially true when the storage solution can be part of their play, which is what I had in mind when I designed this "PJ Masks" headquarters.
On the TV show, the heroes' logos open up to allow their vehicles to exit, but I decided that trying to attach "doors" would be cumbersome and difficult. I designed this project for these specific toys, so you may have to make adjustments if your kids have a different size or style of toys.
MATERIALS
- three cylinder-shaped cardboard cans/containers with lids
- black foam core board
- black duct tape
- red, green and blue paper
- red, green, and blue acrylic paint
- white glue, glue gun, glue sticks
- pencil, ruler, marker
- scissors, exacto knife
1. Thoroughly wash and dry the three cans and lids.
2. Draw the openings onto the cans (or sketch on paper first, cut out, and trace onto the cans). Carefully cut out the shapes. Check to make sure that the toys fit through the openings and make any necessary adjustments.
3. Paint inside the cans and around the edge of where you cut out the opening. Allow to dry.
(Since the paint that I used easily scratched off my containers, I also lined the insides with paper wherever the toy might touch that was easily visible. You can skip this if you want.)
Trace the bottom of a can onto each color of paper twice and cut out the circles slightly smaller (six total, two of each color).
Measure the inside height and cut a strip of each color paper that width.
4. Line the inside of the can bottom, side and lid with the paper. Trim the paper to the correct size and glue in place.
5. Glue the lids on the cans and glue the three cans together. I used my glue gun.
Cover the top and sides of the can tower with black duct tape.
6. Cut an 8" diameter circle of black foam core board. Cut it in half, then in half again.
Glue two quarter-circles on top of the other two, forming two double-thick quarter-circles.
7. Cut two blue, two red, and two green 2" by 1.5" paper rectangles with the corners rounded on one short end.
8. Cut four small triangles out of black foam core board. Glue together in pairs. Glue/tape to both sides of the top can along the outside edge.
9. Glue the rounded rectangles onto the foam core quarter-circles. Glue gun the quarter-circles to the sides of the middle can.
DONE. "PJ Masks all shout 'hooray', 'cause in the night we saved the day!"