What You Need
- 24 white cupcakes
- 24 chocolate cupcakes
- icing (red - round icing tip, yellow - round icing tip, orange - flat icing tip)
- coconut, tinted green with food coloring (or you can use green icing and a ruffle icing tip)
- sesame seeds (optional)
1. Carefully peel back the papers on your cupcakes and cut them all in half horizontally, so there is a top and a bottom. Set the tops of the whites aside (don't stack them too much) and the bottoms of the chocolates, which will not be used in this project.
2. Set the bottoms of the whites out so you can access them all. Draw a square of orange icing on each one, allowing the corners to stick out over the edge of the cupcake. You can fill in the square if you want to.
3. Next add the green coconut or icing.
4. Then carefully lay on the tops of the chocolate cupcakes.
5. Squiggle on some yellow icing.
6. Then squiggle on some red icing. You can add some in the center if you like.
7. Add the tops of the white cupcakes. Sprinkle the tops with sesame seeds if desired. Use long toothpicks or skewers poked through the cupcakes if they are leaning too much. DONE.
Our whole household loves "The Big Bang Theory" TV show, so it seemed a natural fit for a theme for our little guy's second birthday. This theme easily translates to any age group - just change up the activities/games and treat bag contents (if you decide to do treat bags). You can find examples online of parties for everyone from kids to adults.
For decorating, I went with stuff that Sheldon and Leonard would have in their apartment, including:
- their apartment flag (gold lion on a blue field)
- a telescope
- science magazines
- periodic table of elements shower curtain (which I made using a large printed periodic table that I stuck onto a cheap, white shower curtain liner using packing tape)
- a poster board version of their blue apartment door, number 4A
- a poster board "friendship algorithm" white board
- a Rubik's cube tissue box holder, which I made from colored cardstock paper
- a Batman cookie jar, which I modeled from cardboard over a food-safe tin, then painted
- vintage posters
- a dart board on the back of the front door
- tonnes of comic book and sci fi movie props and toys, like lightsabers, figurines, and masks
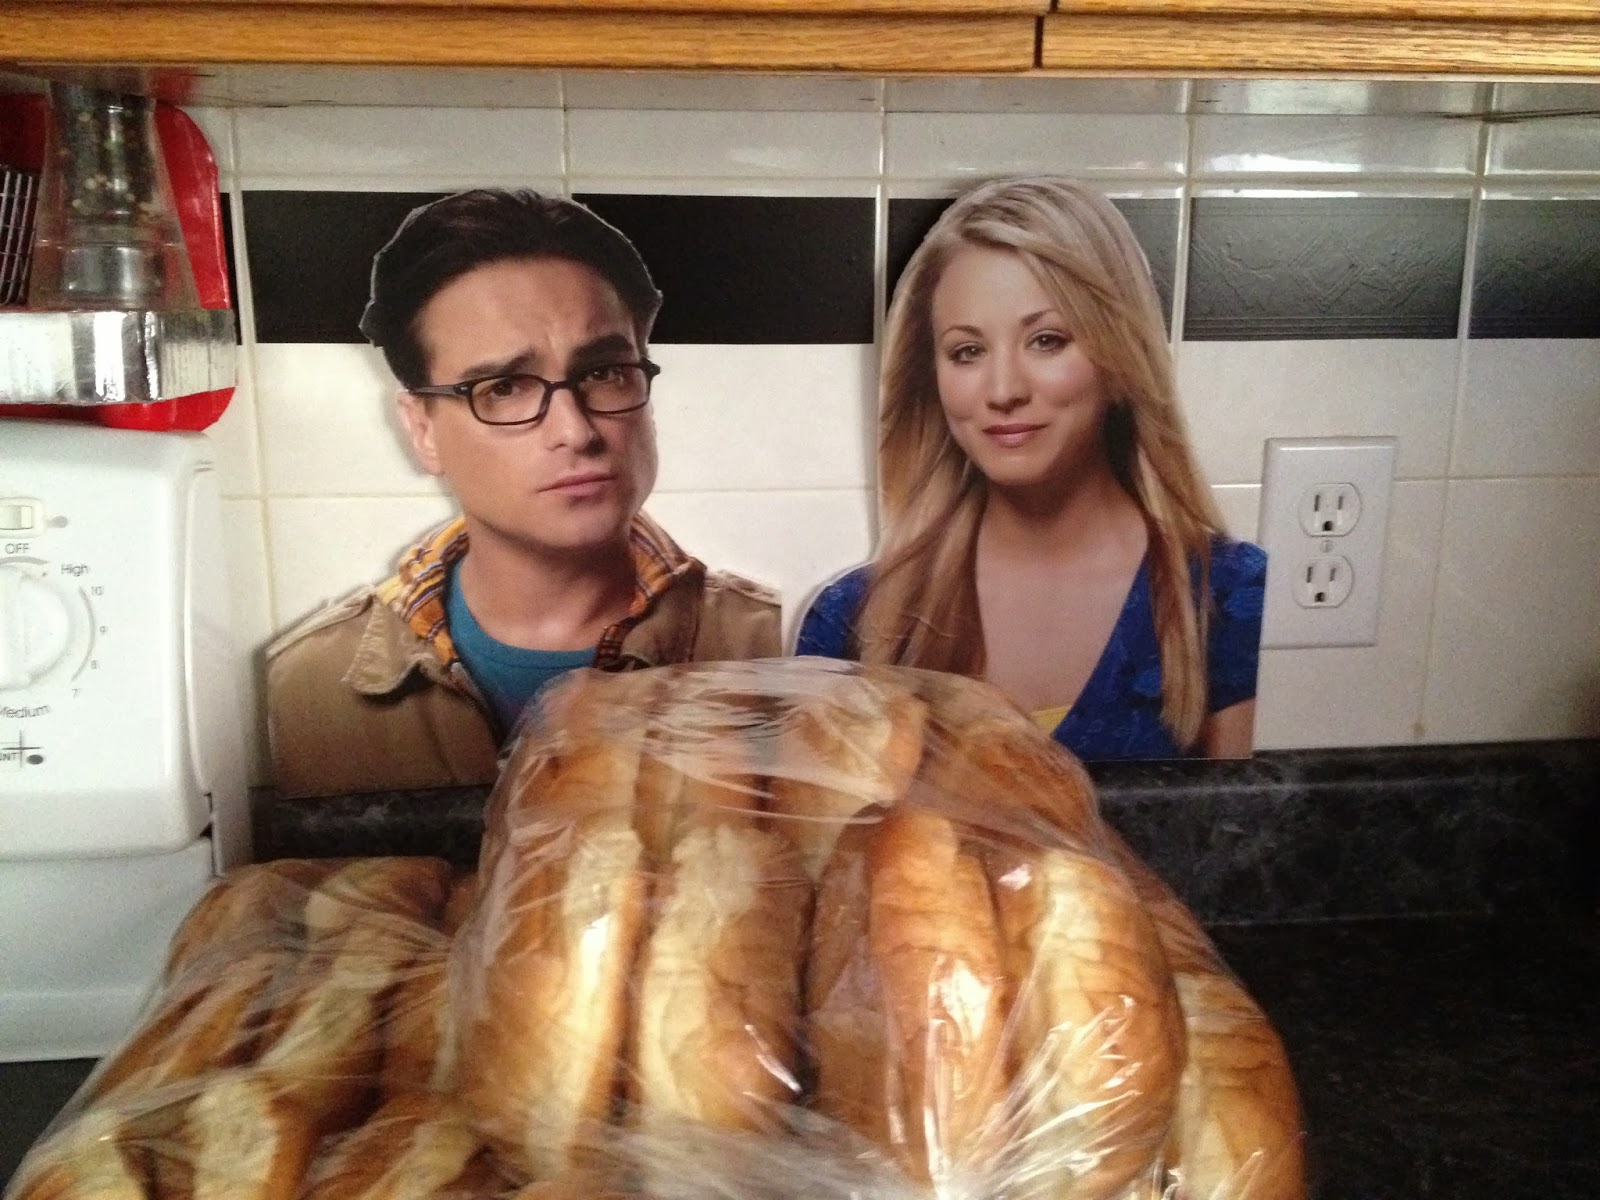
- printed large photos of the characters, mounted on foam core board
- bright, primary colors for plates, utensils, and napkins (with printed lightsaber napkin rings)
Menu
- BBQ bacon cheese burgers, with BBQ, bacon, and cheese on the side
- french fries
- mini hamburger cupcakes (I will post a tutorial soon)
- Froot Loops bars (Rice Krispie squares recipe, with Froot Loops substituted, since Howard's astronaut nickname is "Froot Loops")
- "nightlight" goldfish crackers
- Gobstopper candy "ball pit"
- make your own sundae bar
- cheesecake, decorated like the end of the opening credits (I cheated and used black marker on the cling wrap to do the lettering)
- bottled water with custom labels
- Sheldon's long island iced tea - for defending your woman
- Raj's root beer - for smooth talking the ladies
- Howard's cola - it will take you to the moon
- Penny's grape crush - cure for what ails you
- Leonard's orange crush - for crushin' on Penny
- Marvel heroes candies, Smarties
For my husband's recent birthday, I went with a camo theme, decorating with some store-bought camo party supplies, a roll of camo wrapping paper, and a few military themed items from his collection. I didn't want to focus too much on either armed forces or hunting, as my husband loves them both, so I stuck mostly to just camo, brown, green, and a shot of orange.
A few highlights:
- camo cupcakes
- camo ice cream
- camo party accessories including plates, napkins, and table cloth
- camo wrapping paper wrapped around bottles of water and ginger ale
- pretzel sticks and mint gummy candy leaves displayed in jars
- orange snacks like cheddar cheese, cheesies, and cheese nachos
CUPCAKES
For the cupcakes, I mixed up a white cake mix and a chocolate cake mix, then divided the batter into four bowls:
1. plain chocolate = dark brown
2. plain white with green food coloring added = green
3. mostly chocolate with some white = light brown
4. mostly white with some chocolate = beige
I then dropped the different colors into the cupcake papers randomly in different sized and shaped drops.
After they were baked, I made up brown (chocolate) icing and green icing and put both into an icing bag to decorate them.
ICE CREAM
First, I tinted some slightly melted vanilla ice cream with green food coloring.
Then I randomly dropped the green and chocolate ice creams into my container.
Once I was done, I put it back in the freezer to harden.
Sad news today as the Edmonton Oilers have confirmed that 20 year old prospect and former Edmonton Oil King Kristians Pelss died tragically this week while home in Latvia.
I would like to send my deepest condolences to Kristians' family, friends, and teammates with the Oklahoma City Barons and Stockton Thunder. My thoughts and prayers are with you.
With the NHL lockout continuing, it has been hard to think about blogging, but I have been supporting my local junior teams and listening to Brett Kissel's latest song "Hockey, Please Come Back" on repeat.
You can watch the video here: YouTube "Hockey, Please Come Back"
You can also get this great song on iTunes here: iTunes "Hockey, Please Come Back"
My friend loves sunflowers, so for her birthday I decorated a bunch of cupcakes to look like sunflowers.
MATERIALS
- cupcakes
- yellow icing
- chocolate "kisses" or Oreos
- chocolate chips and red icing OR red candies and chocolate/black icing
- chocolate icing (optional)
1. After baking the cupcakes, stick a chocolate kiss upside down into the center. This will be the center of the flower. If you prefer to use an Oreo, you'll want to stick it down with icing.
2. Using a flat decorating tip, apply the yellow icing in stripes out from the chocolate center to form petals.
3. Stick a chocolate chip upside down into the yellow petals and add a red dot of icing, half on top of the chip and half off (or put a dot of chocolate icing and stick a red candy to it). Add accents with chocolate icing, like spots on the ladybug and seeds around the center of the flower. DONE.
For my son's first birthday, I threw him a hockey themed party. Here are some photos and details:
- invitation = ticket
- cake = foam finger
- Oreos = hockey pucks
- sugar cookie hockey sticks and foam fingers
- arena food menu: pizza, hot dogs, burgers, popcorn, nachos, pretzels, chips
- foam finger pencil toppers and mini Zamboni souvenirs
- scoreboard
- custom water bottle labels and stickers on pop cans
- glass trays = ice
- silver bowls = the Cup
- first star selection
- first draft pick
- pendants banner
- replica Stanley Cup filled with silver candies
- hockey card "thank you"s
1. MINI FOAM FINGERS: I printed off a picture of a foam finger and traced it onto cardboard. After cutting it out of cardboard, I used it as my template to trace onto thin craft foam in various colors. I used Sharpies and paint markers to outline the shape and to write big number 1s on them. I rolled strips of foam into tubes and glued them to the backs, turning them into pencil toppers.
2. SCOREBOARD: I downloaded a picture of a scoreboard that I liked and edited on my computer to add my son's name, make the score 1-0, and make it the first period. I printed four copies of this. I covered an almost cube-shaped box with black wrapping paper, leaving the top open so I will be able to use it as a keepsake box later, then glued a scoreboard to each side. I added a picture from The Hockey News magazine to the bottom, some NHL team logo stickers around the sides, and string to the top so I could hang it from the ceiling.
3. SUGAR COOKIES:
a. HOCKEY STICKS: After rolling out the dough, I cut out simple hockey stick shapes with a knife, then decorated them with icing.
b. FOAM FINGERS: Using the same template as the craft foam fingers, I created my own cookie cutter from an aluminum baking pan, then used it to cut the shapes out of the dough. Each cookie was decorated with colored icing first, then had a number 1 added in white or chocolate icing.
4. MINI STANLEY CUP: I printed off a simple picture of the Stanley Cup for reference, then stacked up two plastic containers (with lids on), a center piece from a roll of tape, and a little bowl. Once I was happy with the configuration, I drew 4 evenly spaced lines around each of the plastic containers and put a line of hot glue on these lines to create ridges. I also did a line of hot glue around the bottom edge of both containers. After stuffing the containers with balled up newspaper and chunks of cardboard to make them solid, I used more hot glue to seal the lid on and fill in the gap between the container and lid. I covered the individual parts with aluminum foil and foil tape, doing my best to keep it smooth on the two plastic containers but letting it be rough on the bowl to mimic the embossing on the real Cup. The last step was to use hot glue to stick the parts together.

5. PAPER ZAMBONI FAVOR BOXES: I designed a pattern for a paper zamboni and printed it on colored cardstock. After cutting and folding them, I secured the sides with staples (you could use glue or tape) and filled them with candy before tying a ribbon around them. These would be fun for older kids to color as a party activity. NOTE: I believe that Kinder Surprise, Eggtopia NHL Eggs and other similar chocolate eggs with toys inside will fit inside these. I filled them with mini chocolate bars.
6. CONCESSION SIGN & FOOD LABELS:
a. CONCESSION SIGN: I typed up the concession sign in Word, using black capital letters and red punctuation/numbers and printed it on white cardstock. I added pieces of a Coca-Cola box to the center page, then glued all three pages to a large piece of cardboard that I wrapped in black wrapping paper.
b. FOOD LABELS: I printed off the labels on white cardstock and drew/colored the pictures. After cutting them out, I glued them onto colored cardstock.
7. BANNERS: I printed out the letters in my son's name on colored card stock and cut them out in the shape of hanging banners (rectangle with the bottom 2 corners cut off to form an arrow shape). I glued these onto slightly larger pieces of colored cardstock, then strung them together on ribbon.
8. CUSTOM BOTTLES OF WATER: I set up a sheet of "labels" in Word that were as wide as I could make them and 1.88" high (5/sheet). I downloaded images of NHL team jerseys and inserted them into the labels, then typed my son's name and "1st BIRTHDAY" in a coordinating color. I printed them on regular white paper, cut them into strips, and attached them with a long strip of clear packing tape that covered the paper completely and was sticky at both ends to stick onto the bottle. I recommend removing the original label first.
9. NHL DRAFT BOARD: I printed a 1 (black printing on white background) and my son's full name (white printing with black "highlighting") on white cardstock and cut it out. I also printed the logos from the most recent NHL draft. I glued these to a large piece of black poster board. I also glued photos of my son to the board.
10. FOAM FINGER CAKE: I baked a 9"x13" cake and trimmed it in the shape of a foam finger, leaving the pointer finger quite wide to avoid having it break when I moved the cake to the tray. I decorated it with red and white icing and used a matching 1-shaped candle.
11. HOCKEY ICE TABLE: Since our kitchen table is a white oval, I used red and blue duct tape and red and white paper with clear mactac to create a rink on the top of it.
We own a lot of hockey memorabilia, jersey, blankets, etc., so I used those throughout our kitchen and living room to decorate.