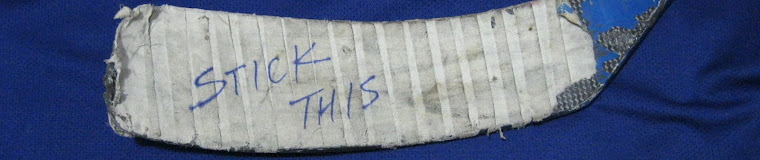
I love hockey and have a lot of hockey memorabilia in my collection. Pucks are some of my favorite souvenirs and when I was rearranging my "fan cave" this summer I decided to come up with a better way to display my pucks.
We had already painted the walls to mimic hockey arena boards: light grey at the top, a blue stripe across the middle (at 1m/39" up from the floor), white below the stripe, and yellow trim around the bottom. I decided that making a narrow shelf to mount on the blue stripe would be a great place to display the pucks.
This project requires some power tool usage, so I enlisted some help. For those familiar with power tools, this isn't a complicated project.
MATERIALS
- wooden 2X4 or 2X2 cut to the length you want your shelf to be
- screws (2 1/2" or 3")
- latex paint or wood stain, paint brush
- wood filler or drywall putty, putty knife
- pencil
- sand paper
TOOLS
- table saw
- drill, drill bits, screwdriver bits
- level
- tape measure
- stud finder
1. Decide where you want to put your shelf (or shelves). I chose to put mine at 1m (39") up from the floor, but you might want yours up closer to the ceiling or above your TV or wherever. Measure the length of your space and decide how long you want your shelf. I wanted mine to go from the corner of the room across to my shelving unit. Cut your piece of wood this length.
2. My shelf has a groove that is 1/4" deep and a hair more than 1" wide. All hockey pucks are 1" thick and I wanted to make sure they didn't easily tip off the shelf if someone bumped it or the wall. My total shelf is 1 1/2" high (the same height as a 2X4) and just over 1 1/4" deep. You can adjust your groove to be deeper if you want more "lip" at the front, but keep in mind that this will hide more of the puck. Cut the groove down the length of the board.
3. Use a stud finder to find and mark your studs on the wall. My uncle showed me a trick for this: apply a strip of painters tape across the wall above and/or below where you want to put your shelf and make your marks on the tape. Once the shelf is mounted, remove the tape.
4. Get someone to help you hold the shelf in position on the wall. Balance the level on it to keep the shelf level. Use a drill bit that is the same size as the narrowest part of your screws (so that the threads would still "bite") and carefully drill through your shelf into the wall at the center of each stud.
5. Move the shelf and drill the holes in the wall deeper into the studs. Sand any rough spots that are sticking out.
6. Use a bigger drill bit and re-drill the holes through the shelf so the screws won't "bite".
7. Use an even bigger bit to drill just the very outside edge of the holes so the screw heads will "sink" in to the wood. Sand away any rough spots that are sticking out.
8. Paint or stain the shelf. Apply additional coats if necessary. Allow to dry completely.
9. Starting in the middle of the shelf, carefully screw the screws through the shelf and into the pre-drilled holes in the wall. Don't tighten any screws completely until you have all the screws in place. Tighten all the screws.
10. Fill the screw holes and paint over them. Apply additional coats if necessary. DONE!
Enjoy your beautiful handiwork as you display your puck collection.
Cupcakes are a fun treat to serve at parties and events and a nice stand is a great way to present them. A stand also lets you maximize table or counter space while still offering a lot of cupcakes.
This stand is made out of cardboard and can be completely disassembled for flat storage. You can build it whatever size you need and decorate it to match any decor.
MATERIALS
- cardboard
- exacto knife
- scissors
- white glue
- contact paper or similar
- electrical tape or other decorative tape
- pencil, ruler
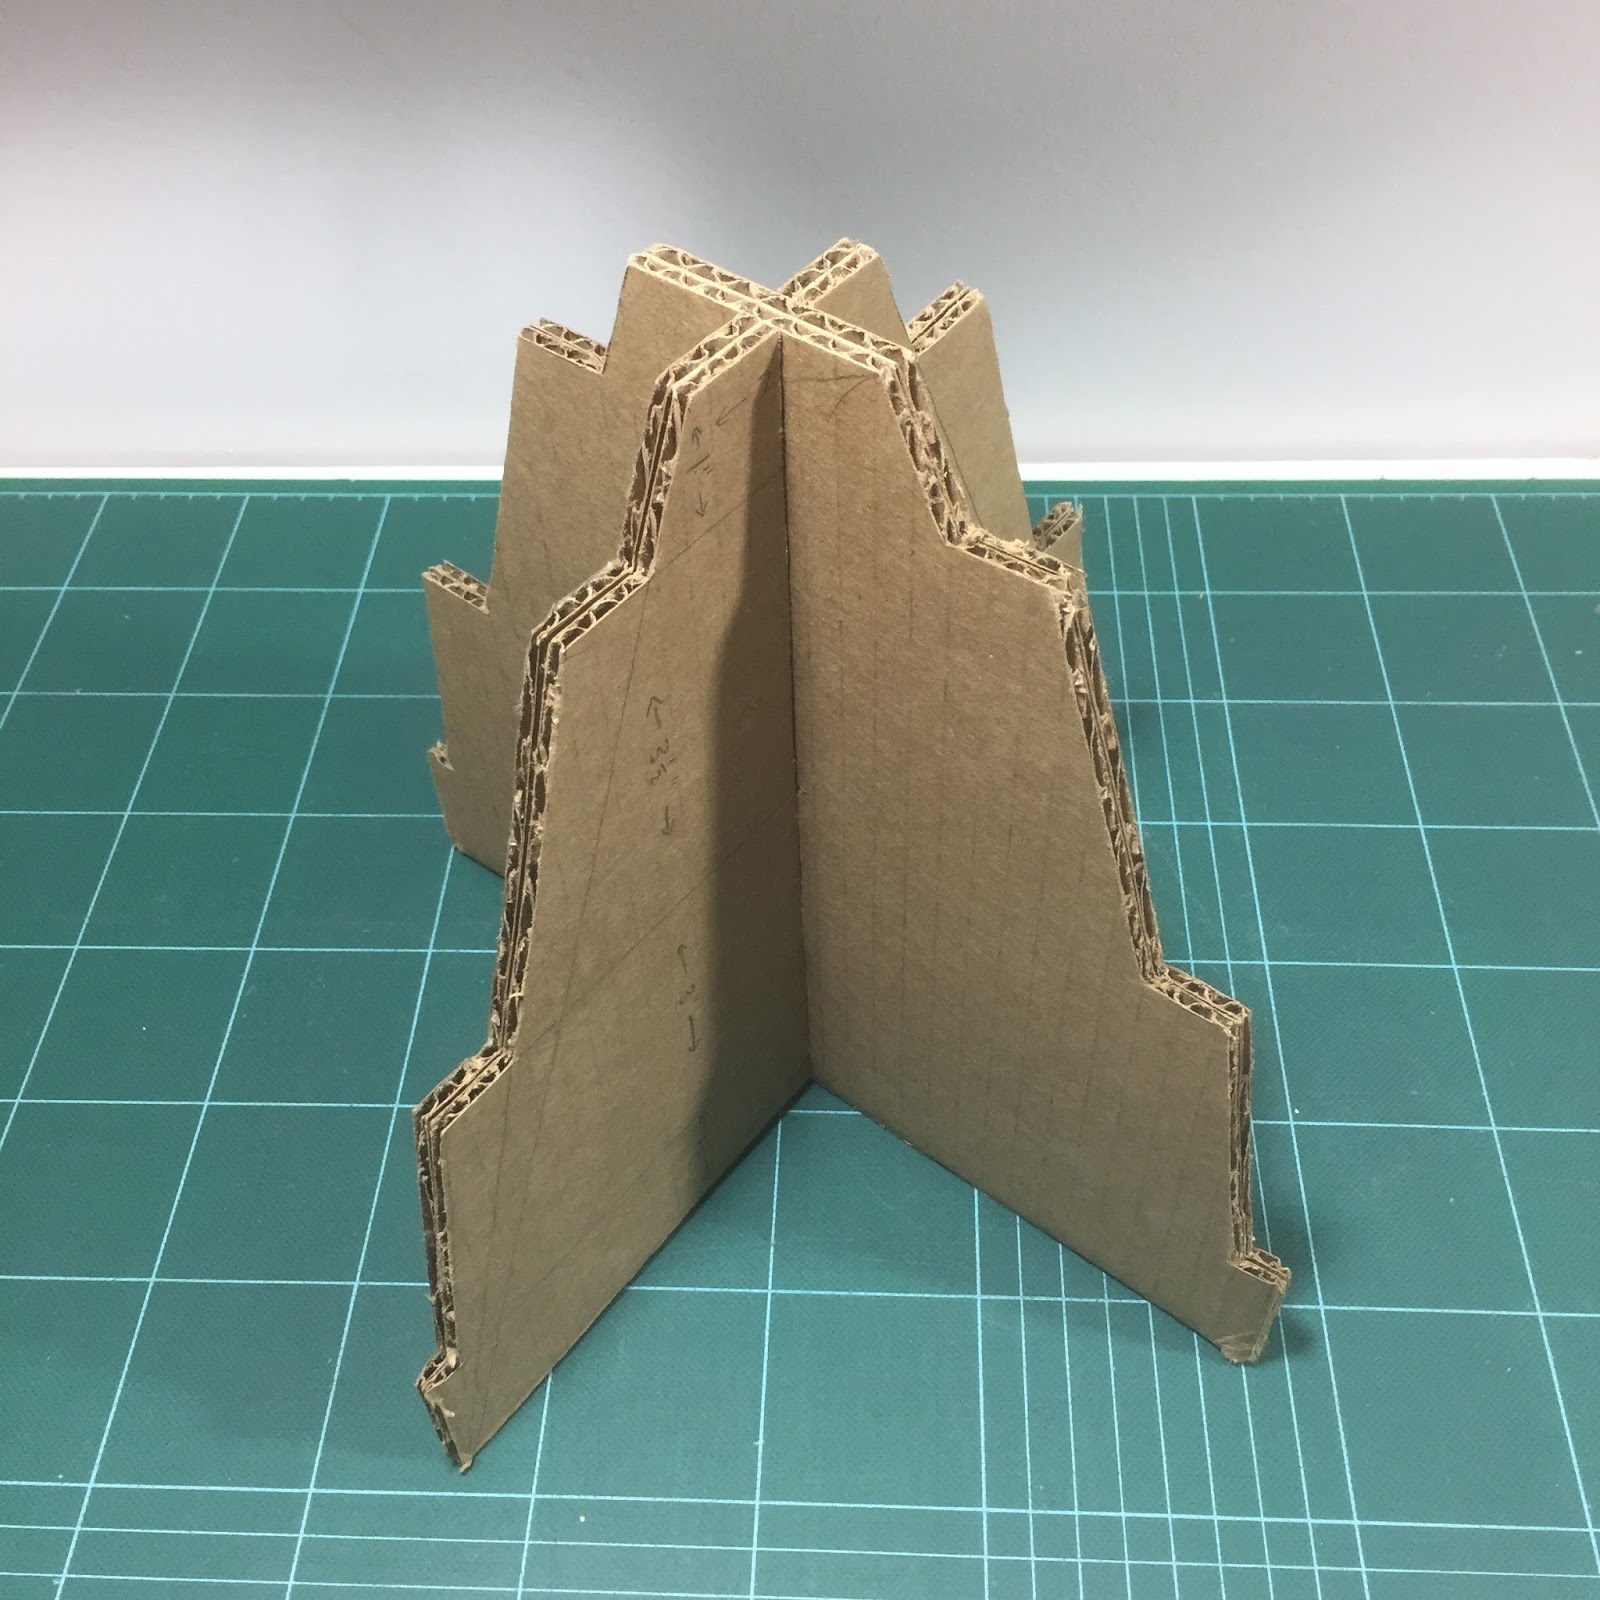
1. Start by deciding what size you want to make your stand. I didn't want mine to be to large, so for my base I cut 4 pieces of cardboard 9" high by 10" wide. White glue two pieces together and the other two pieces together and let the glue dry.
In order to easily attach the three circular platforms for the cupcakes to sit on, I angled the sides of my base and cut notches out. At the top, the base is 2" wide. The platforms will sit at 1" from the top, centered (4.5" from top/bottom), and 1.5" from the bottom.
2. Once you have your base planned out, cut out the outside edge.
Mark the center of the base both ways. On one piece, mark a space from the center to the top that is about .25" wide (the thickness of your doubled cardboard). On the other piece, mark the same space from the center to the bottom.
3. Cut out these spaces. Assemble the base to ensure the cuts are wide enough and it fits together nicely. Adjust if necessary.
4. Determine the size of your platforms. I did circles but you can use squares if you want. My circles were approximately 13", 10.5" and 8" in diameter. (I traced around some plates and a large frying pan lid to make them.) Cut two of each size.
Glue the two pieces of each size together and let the glue dry.
Mark the center of each circle. Mark an X in the center so that you can cut out the space for the platform to slide over the base and sit at the correct level. The smallest circle is the top one and the largest circle is the bottom one. Measure carefully and make sure your lines are at right-angles to each other.
5. Once you have your Xs marked, cut them out.
6. Test to make sure that your circular platforms fit onto the base and sit where they should. Adjust if necessary.
7. Now for the decorating!
I wrapped the edges of all my pieces with electrical tape first.
8. Then I covered the sides with contact paper. I did one side at a time and used my exacto knife to trim away the excess paper.
9. Cover all your pieces and trim away all the excess paper, including in your spaces for assembly.
10. Once all the pieces are covered, assemble them. Adjust any areas that are too tight by carefully trimming with the exacto knife.
DONE! Enjoy filling your stand with cupcakes!
Fidget toys are very popular right now. They come in a huge variety of styles and colors geared to all ages. The purpose is to give the user something to play with to help them to focus their thoughts and calm their mind.
I have saved a pile of caps from the squeezable baby/toddler fruit/vegetable puree pouches with the intention of using them for craft projects. They come in several styles and various bright colors. When I saw some people making fidget toys with plastic bottle caps, these caps immediately came to mind.
I intend to experiment more with these caps to perhaps come up with a fidget spinner toy design, but here's what I have so far: a quick and easy project that my toddler loves and older kids can help make themselves.
MATERIALS
- plastic caps from puree pouches (or other plastic caps that have holes, or drill some holes in some plastic caps)
- binder rings or key rings
- exacto knife
1. Wash and dry the plastic caps.
2. CAREFULLY use the exacto knife to trim away the bits of plastic that are sticking up along the edge.
3. Link the caps together with binder/key rings. I tried a few simple patterns but I plan to try adding more rings.
4. Play around with color combinations and different styles of caps.
DONE! Go play. I'll post more fidget toys as I come up with them. I'd love to hear your suggestions and see your creations.
For birthdays, anniversaries, and even graduations, having large cardboard numbers on hand for decoration or as props for a photo shoot is a lot of fun.
This same technique can also be used for letters if you wish to make a name or initials for an event or photo shoot.
These are fairly easy to make, low cost, and can be whatever size and colors you want.
MATERIALS
- cardboard
- contact paper, wrapping paper or similar for covering the cardboard
- duct tape or similar (optional)
- glue gun, glue sticks
- white glue (optional)
- exacto knife, scissors
1. Draw the letter or number onto cardboard. I used some circular items to trace around and a long ruler. You can print off the number/letter from your computer, cut it out, and trace around it too.
2. Cut out the number/letter.
3. Trace the number/letter onto another piece of cardboard and cut it out.
4. Cut a bunch of cardboard into strips. These will determine the thickness of the finished number/letter. Mine were 2" wide.
5. Use the glue gun to attach pieces of the strips at right angle to one of the number/letter cut outs. Start by gluing in the middle. These pieces give the number/letter strength.
Keep building up the middle.
6. Next, glue more strips around the outside edge of the number/letter. These will be the sides of the number/letter.
7. Glue the second letter/number cut out piece on top. I used white glue on the inside supports and a glue gun around the outside edges.
Trim any uneven areas.
8. Tape over any areas that the glue isn't holding well or are still uneven.
9. Cover the front and back with contact paper or similar, wrapping the edges of the paper around the sides. For curves, make relief cuts every inch or so to keep the edge smooth.
10. Cover the sides of the number/letter. I used duct tape but you can use more contact paper or similar or another kind of tape or even ribbon.
DONE!
Enjoy your party or photo shoot!