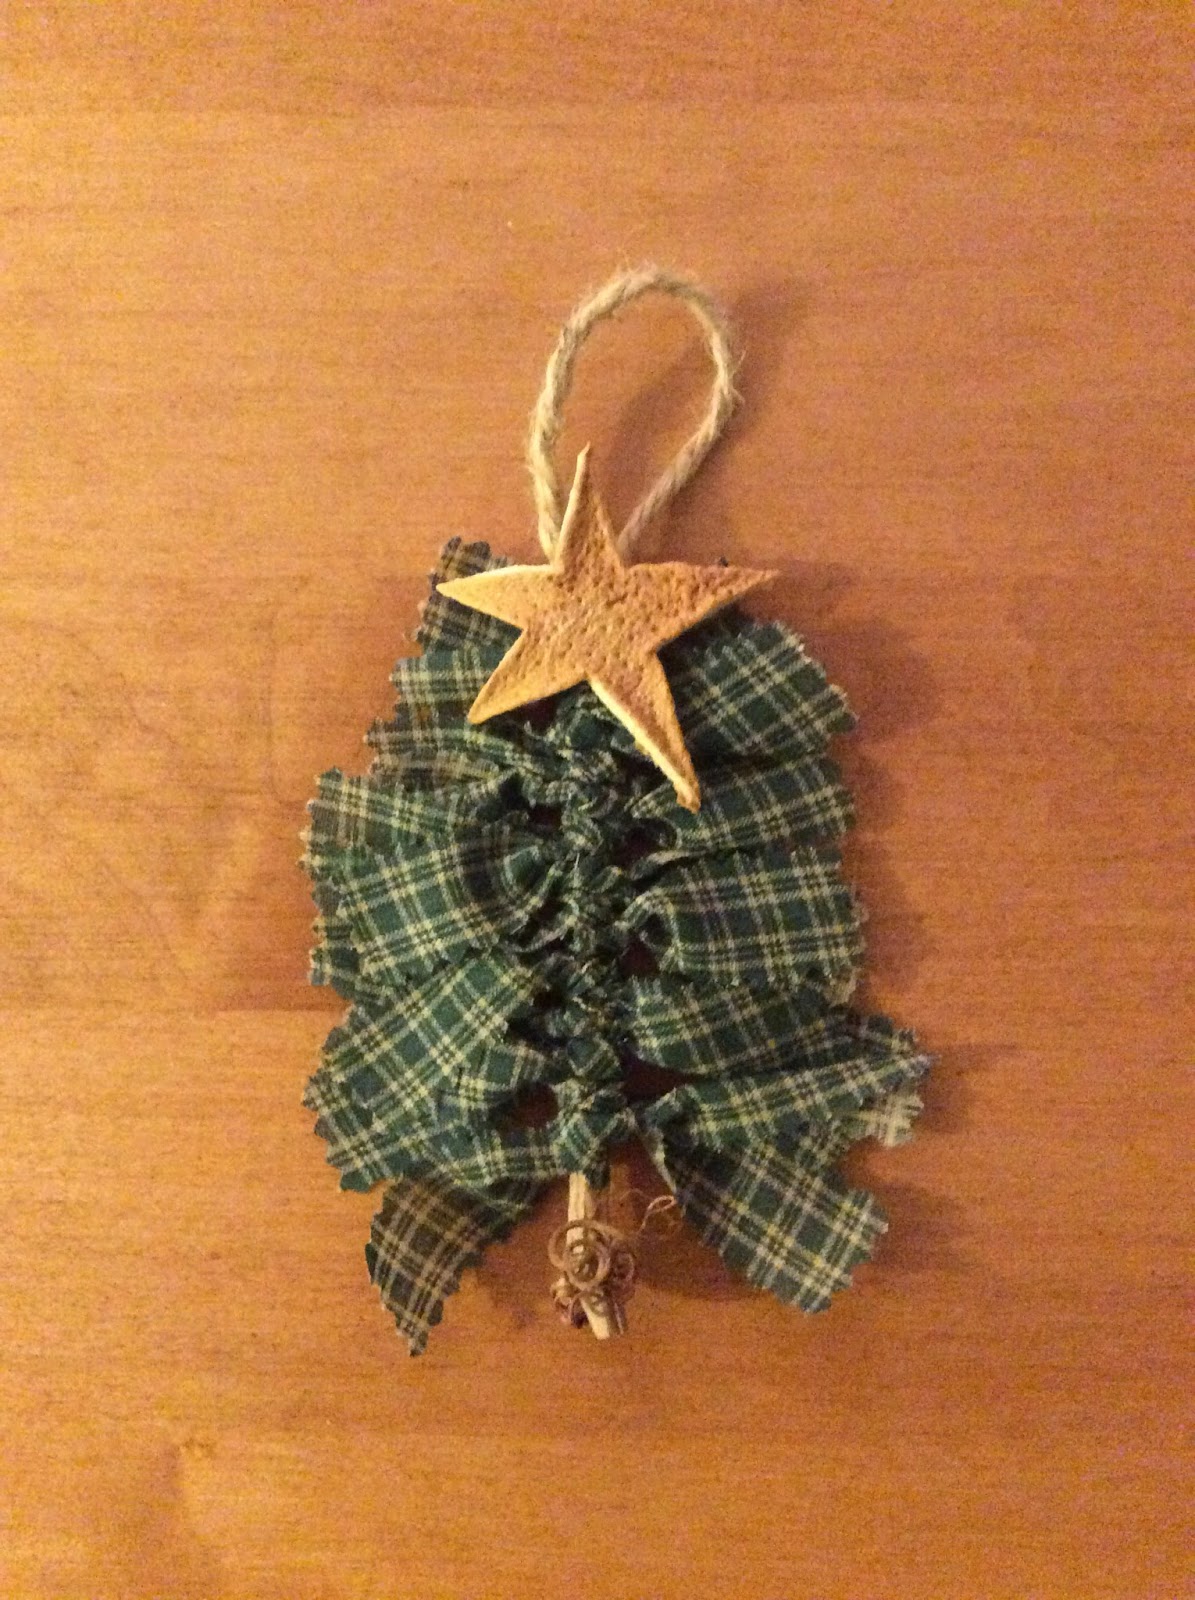
These cute, country/primitive style trees are great ornaments for your tree or gifts for friends, family member, and teachers. They are quick and easy to make, but can be customized with a variety of colors.
Tie these on the outside of presents as a re-usable part of the wrapping, attach them to garland on your mantle or stair railing, or make the hanging loop large enough to hang these on your door knobs.
The size of the tree is determined by the "base", a stick of your choosing. Using a cinnamon stick makes a cute little ornament with a wonderful scent.
MATERIALS
- wooden stick or cinnamon stick
- strips of fabric approximately 1" wide (various lengths)
- scissors
- string, ribbon or twine
- star or button for the top
- glue
1. Begin with shorter pieces of fabric at the top of your stick and tie them securely to the stick. You can use all one pattern/color of fabric per tree or a variety.
2. Continue tying strips of fabric around the stick until you have about 3/4 of the stick covered.
Trim the ends of the fabric strips so they form a tree shape.
3. Tie or glue on a hanging loop a the top. Glue on a star or button at the top.
DONE! Aren't these cute?! And easy to do. You can add a bit of twine or wire around the bottom of the stick to accessorize the trunk too. Enjoy!
This Christmas season I decided to build a fireplace out of cardboard boxes so we could hang our stockings properly.
Materials
- 5 cardboard boxes the same size
- several large pieces of cardboard
- small pieces of cardboard
- masking tape
- white glue
- paint (black, brown/red, white)
- cardboard tubes
- photo or printout of flames/fire
1. Stand up three of the boxes on end side by side, with the bottom of the end ones facing forward and the bottom of the middle one facing backwards. Glue and tape them together. Let the glue dry.
2. Lay the remaining two cardboard boxes on top of the three, with the bottoms facing forward, and glue in place. Let the glue dry.
3. I turned this part around and reinforced inside all the boxes to increase the strength, but if you won't have anyone trying to climb on it, you could skip this.
4. Glue a sheet of cardboard to the back to cover it. You can skip this step but it helps with stability.
5. Glue long pieces of cardboard to the top and bottom to make a mantle and base. I had saved some 1-inch-thick "boards" of cardboard that were perfect for this. You can layer sheets of cardboard to make a thick slab. Feel free to paint them.
6. Paint the inside of the center box (that is backwards to the other four) black. Once dry, glue your flames to the back (optional).
7. My boxes were white, so I just painted the "bricks" over top in brown. You could leave your boxes brown and just paint the white "grout" or paint them white, mark off your grout lines, and then paint brown or red over top for bricks. You can paint any pattern or colors you prefer - match your decor or recreate a beloved fireplace from your childhood.
8. Glue cardboard tubes of different lengths inside your black center box. I used half tubes in the bottom first, then stacked full tubes randomly on top. I rolled up strips of cardboard and glued them in the ends of the tubes to fill them, but that's optional.
9. DONE!