
MATERIALS:
- hockey stick (tape/stickers removed, washed)
- strong glue
- spray paint
- hockey tape
- stickers/decals
- acrylic craft paint
1. Use glue and tape to put your broken stick back together.
2. Spray paint the entire stick the color of your choice.
3. Wrap hockey tape around your repaired areas to hide them. You can use tape with a design on it or paint the tape with acrylic craft paint (stick the tape on a plastic container and paint it before you wrap it on the stick). Add decals if desired.
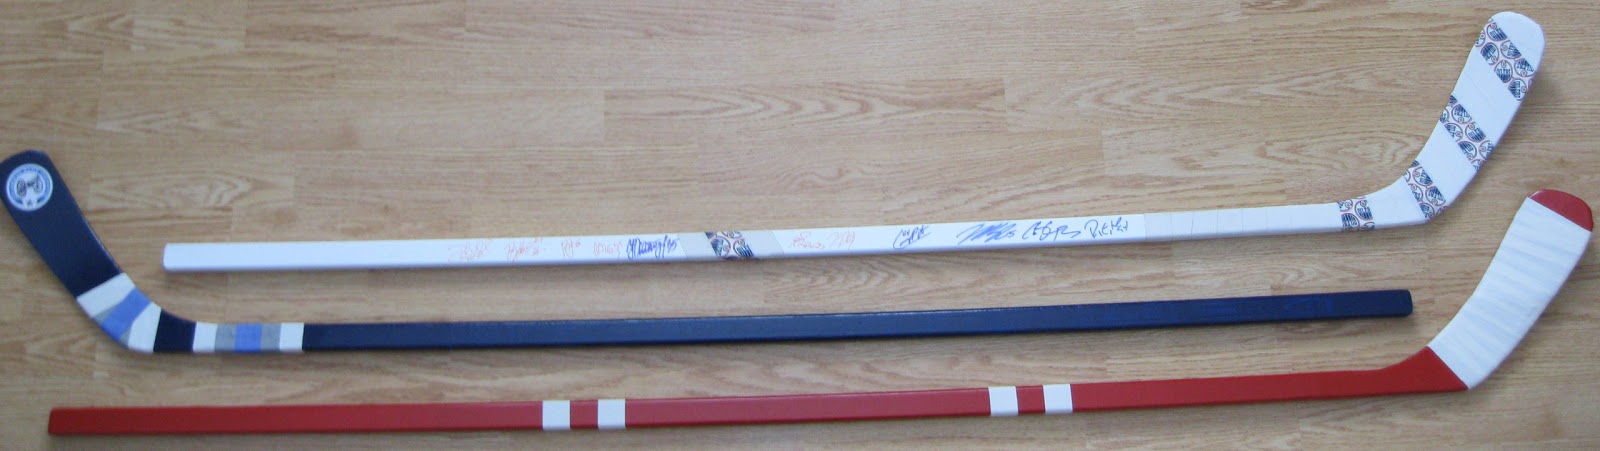
a. On the white stick, I used tape with Oilers logos on it - 5 strips, one for each Stanley Cup.
b. On the blue stick, I painted the tape to match the CBJ third jersey's stripes and added a decal on the blade.
c. On the red stick, I stuck with just plain tape, again mimicking the jersey stripes, and will add a Team Canada decal on the tape on the blade.
*If you plan to get autographs on the stick, test your marker on a spot where you will be adding tape or a decal. You want the marker to show up well, write easily, and dry quickly. I recommend Sharpies.
No comments:
Post a Comment