Showing posts with label kitchen. Show all posts

Saturday, July 29, 2017

DIY Wall Mounted File Organizer


In an attempt to organize our kitchen a little better, I designed and built a wall mounted file organizer. I had looked at buying one, but couldn't find anything that fit my needs and the space where I wanted to put it. I wanted to mount it on the side of a cabinet, so I also wanted the organizer to be light weight so that I could use 3M strips to attach it, rather than screws or nails. I used foam core board, but you could use cardboard. You could also use thin wood if you want to get really fancy.

MATERIALS
- foam core board
- white glue
- ruler, pencil
- exacto knife
- acrylic paint, brush

1. Determine what size you want to make your organizer and how many "pockets" you want it to have. I wanted a letter-size piece of paper to fit "landscape" in both pockets. I chose two pockets: one for papers to be filed and one for papers to go out (letters to be mailed, coupons, etc.).

The base of my organizer is 11" wide by 14" high. I started with two pieces of foam board this size and glued one on top of the other to make a base two boards thick.
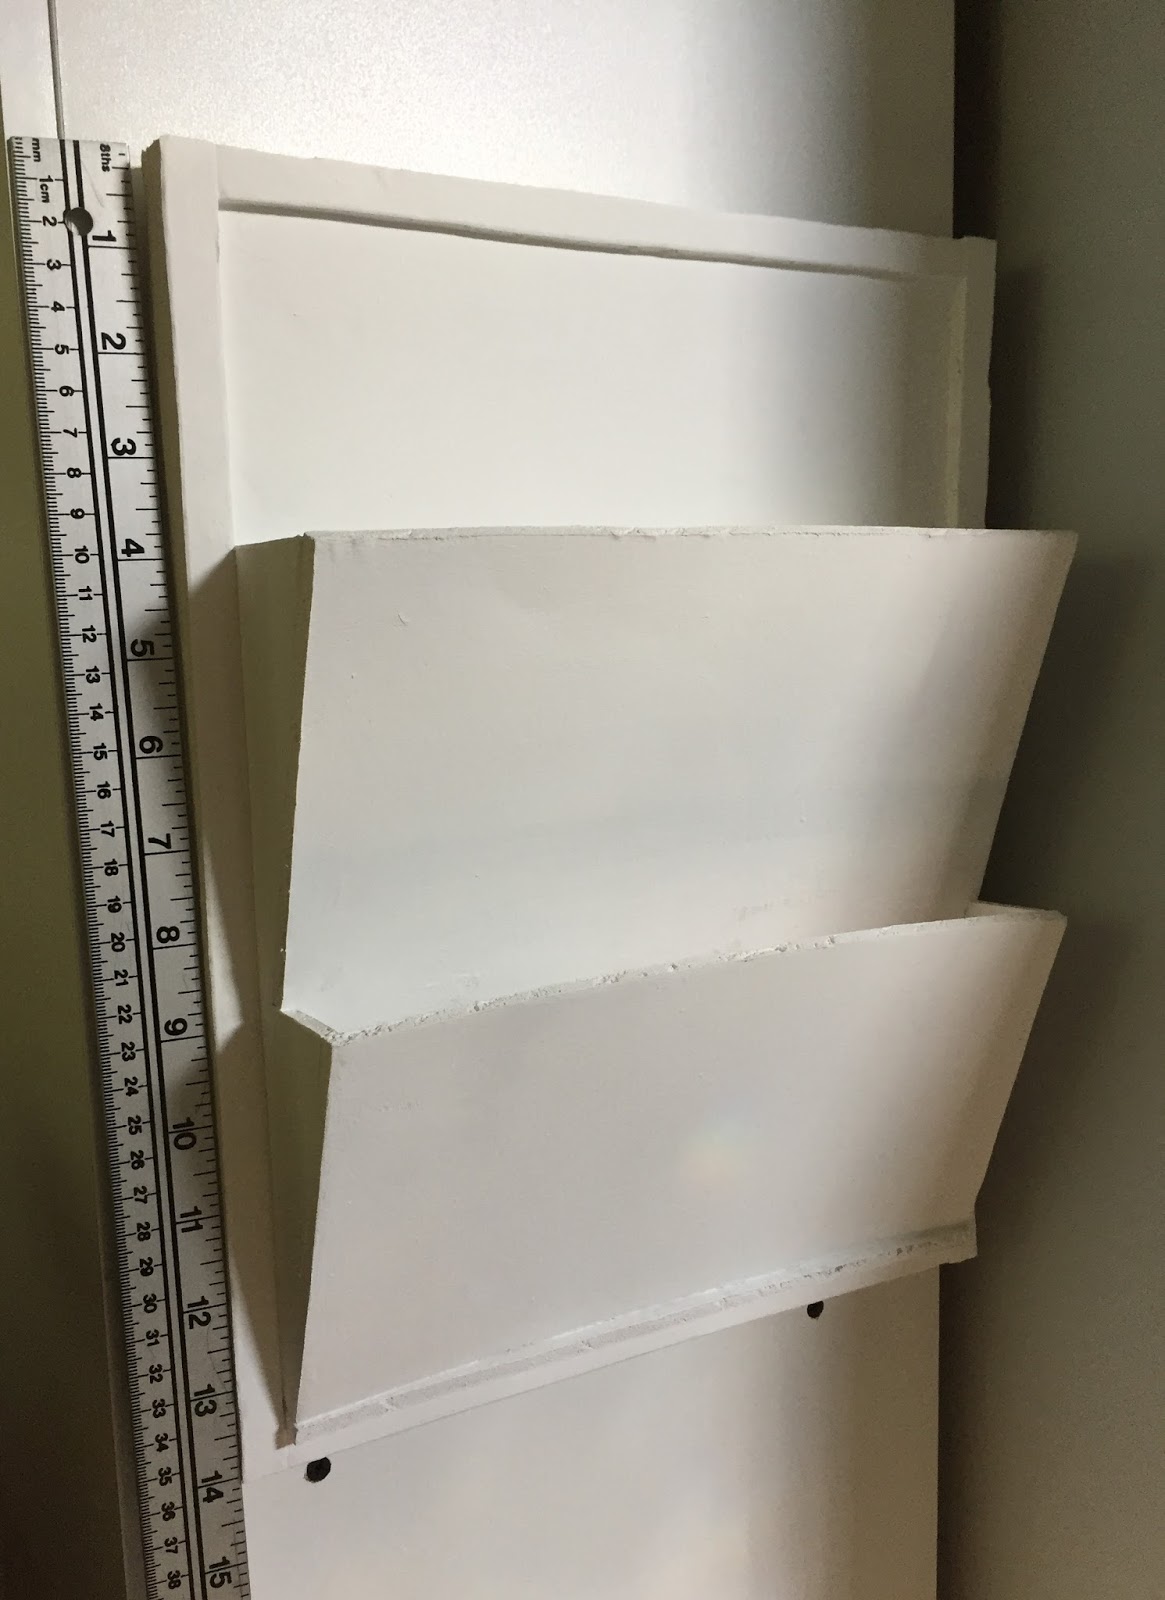
 

I glued 1/2" strips of foam board all the way around the front edge of my base.

2. Decide how deep you want the pockets to be. On my organizer, the bottom pocket is 4.5" deep and the top one is 5" plus it extends down inside the bottom pocket a bit.

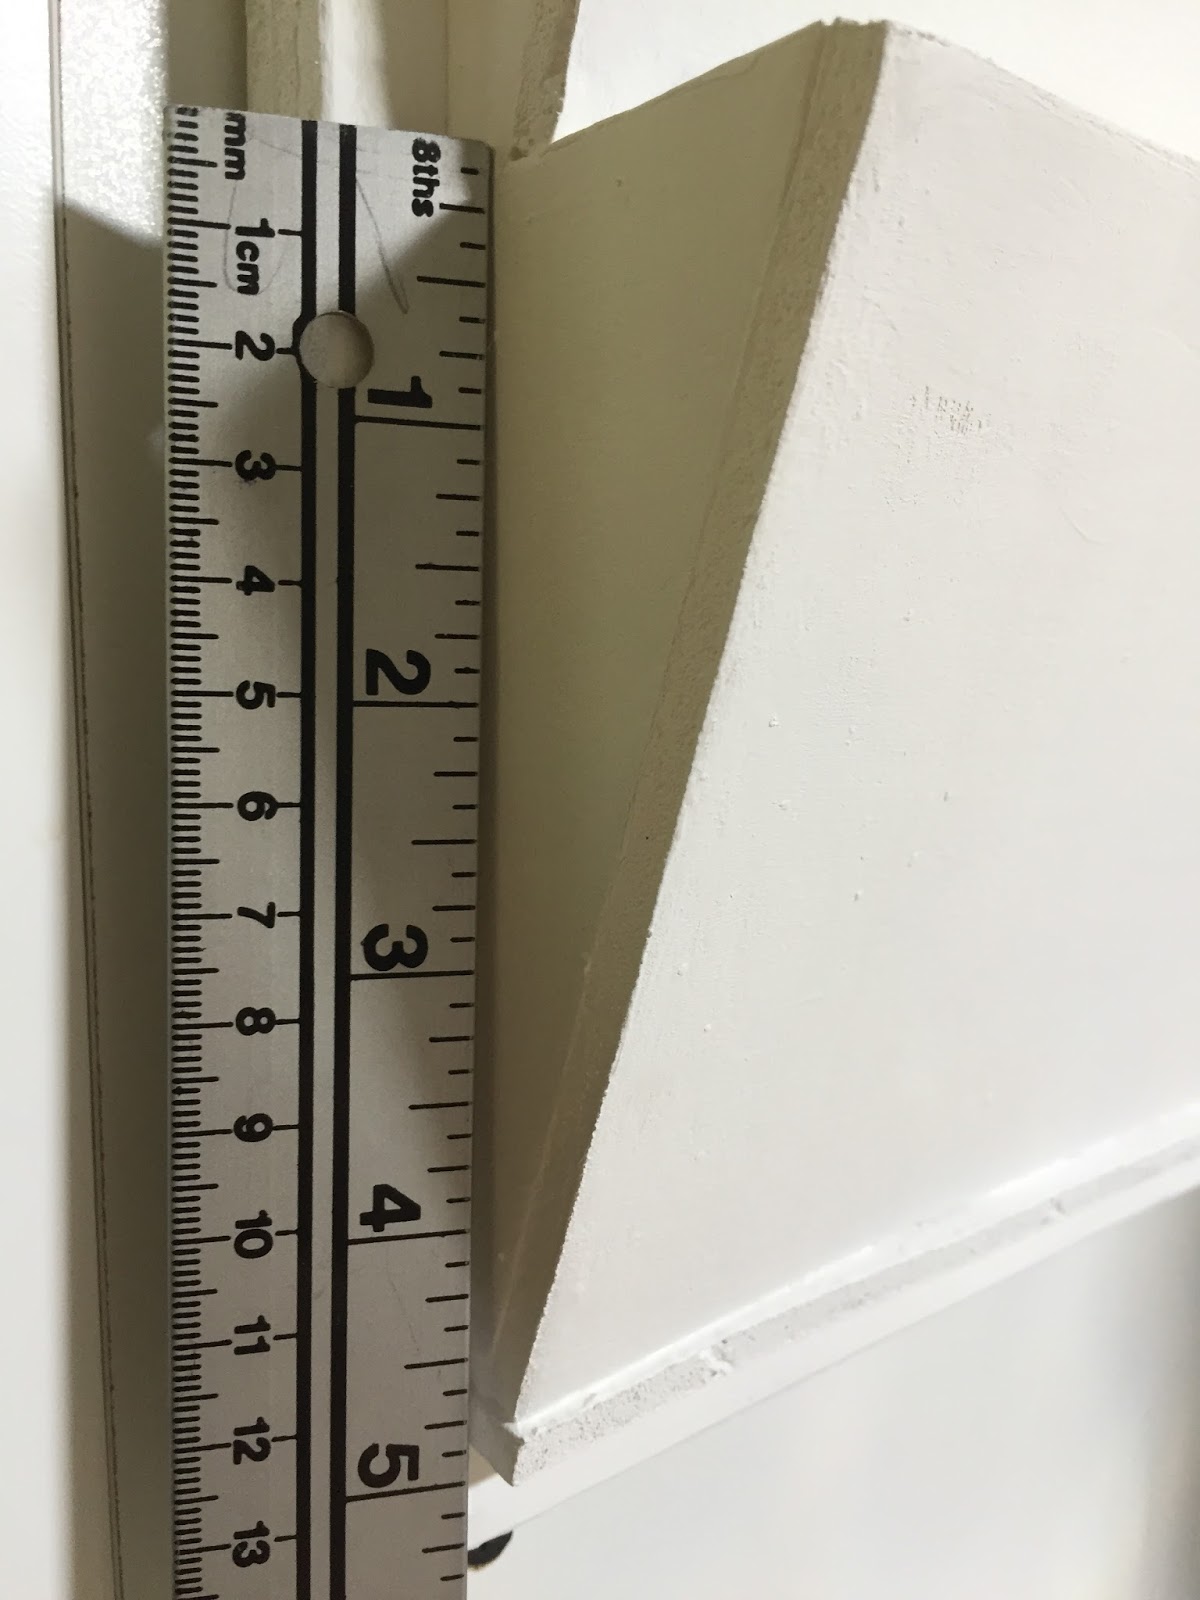
 

I made the top opening of my pockets 2" from the back/base.


Draw out your side pieces so they look like two overlapping right-angle triangles. Measure the lengths of the two angled edges - these measurements will be the height of your front pieces. My front pieces are 10" wide.


3. Hold one side piece in place and mark on the top pocket front where you need to notch it so that the bottom edge of it will fit down inside the bottom pocket. Mark the opposite side of the front in the same place. Double check, then trim away the two notches.

Test-fit the pieces and make any necessary adjustments.

4. I glued a 1/2" strip on edge across the bottom of where my bottom pocket sits because I had a bit if a gap there when I test-fit the pieces.

Glue the side pieces in place. Use the fronts to ensure that you have them at 90 degrees to the back/base.

I used some more 1/2" strips inside the pockets to make the sides sturdier and ensure there weren't any gaps at the bottoms.

Glue the fronts in place. Allow all glue to dry thoroughly.


5. Paint and decorate the organizer however you please. Label your pockets, if you want to.
(The paint warped my fronts a bit, but I don't mind.)


DONE. 

What fun ways did you decorate yours? Chalk paint? Your last name? An inspirational quote? Did you label the pockets with your family members' names? I haven't decide what else to do on mine so it's still just boring and white.

Friday, April 28, 2017

Easy Update to a Tile Back Splash


When we bought our house, the tile back splash in the kitchen featured a pastel floral pattern. This dated pattern was definitely not our style, but we didn't want to go through all the hassle and expense of removing and replacing all the tile, so I got creative.

It is possible to paint tile and seal the paint to make it extra durable, but my solution was simpler and easier: contact paper. Available in an endless number of colors and patterns, contact paper can be easily cut with scissors and sticks to all sorts of surfaces.

The kitchen tile transformation was so great that I later covered the back splash tiles in our bathroom to give them an easy update and make the irregular pattern look even.


MATERIALS
- contact paper
- scissors
- ruler, measuring tape
- pencil
- exacto knife

(I did all the "easy" tiles first, then measured, cut, etc. the irregular ones.)

1. Decide whether you want to cover the entire tiles or just a part. Carefully measure your tiles or the height/width of the areas you want to cover. 

2. Mark the measurements on the back of the contact paper. Remember to reverse any shapes that aren't square/rectangular, such as L-shapes. Double check your measurements and shapes. If your contact paper has a pattern that your hoping to match up, label your pieces so that you can keep track of where they go.

3. Carefully cut out the pieces of contact paper.

4. Apply the pieces of contact paper to the tiles by lining up the top edge and smoothing it downwards. Smooth out any wrinkles or air bubbles. Continue until you have all the pieces applied.

5. Use an exacto knife to carefully trim any edges that need adjustment. DONE!


BONUS TIP: If you have older outlet covers inset in your tile back splash, it can be hard to find modern replacements that fit the space. An easy way to update these covers is to remove them, wash them thoroughly, and spray paint them. You can also spray paint the tops of the screws, just poke them through a cardboard box so that the tops can be easily sprayed and the threads are protected from the paint. Allow all the paint to dry as per the manufacturer's instructions, then carefully replace the cover and screws.

Tuesday, May 1, 2012

I ♥ Ladybugs!

I love ladybugs - both live ones and decorative ones. I have ladybug glasses, a magnet, wind chimes, tea towels, a table cloth, a dish for my pot scrubbers... My mom also painted some ladybug rocks for me, along with a rock that says: ladybugs welcome. I have other ladybug decorations in my flower beds and my library contains the fantastic book Ladybugs of Alberta by John Acorn.

As a teenager I had the unique experience of discovering what I can only describe as a ladybug nest. At first I thought the ground was bleeding, because it looked like red veins flowing out from a bubbling, raspberry-like center. I cautiously moved closer and found that it was thousands of pin-head-sized ladybugs, bright red with two tiny black spots each, rushing up out of the ground and off into the world in little trails. It was amazing.

I came across this wonderfull ladybug-themed party and am posting the link here in hopes that someone will host one for me for my next birthday: Hostess with the Mostess.