Showing posts with label paper. Show all posts

Monday, August 14, 2017

Up-Cycled Snack Containers to Custom Canisters


Some of my toddler's favorite snacks come in these little cardboard cans with plastic lids. They're fairly sturdy, so I decided to reuse some as food storage canisters. I had some "Star Wars" wrapping paper that I have been saving for a fun project and this seemed perfect.

You can use whatever kind of paper you like, as long as you have enough of it to cover the cans and glue that will hold it in place. You can also use fabric instead of paper, or duct tape, or contact paper. Whatever you choose, this is a super easy project.

MATERIALS
- empty food cans with lids
- wrapping paper or similar
- glue
- labels (optional)

1. Thoroughly wash and dry the cans and lids. Don't soak the cardboard as it will deteriorate. I let the cans air dry for a day or more to make sure they're completely dry.

2. Lay the can on the paper and wrap the paper around it to determine how long of a strip you require. Leave enough extra for the ends to overlap. It's better to have a big overlap than a gap.

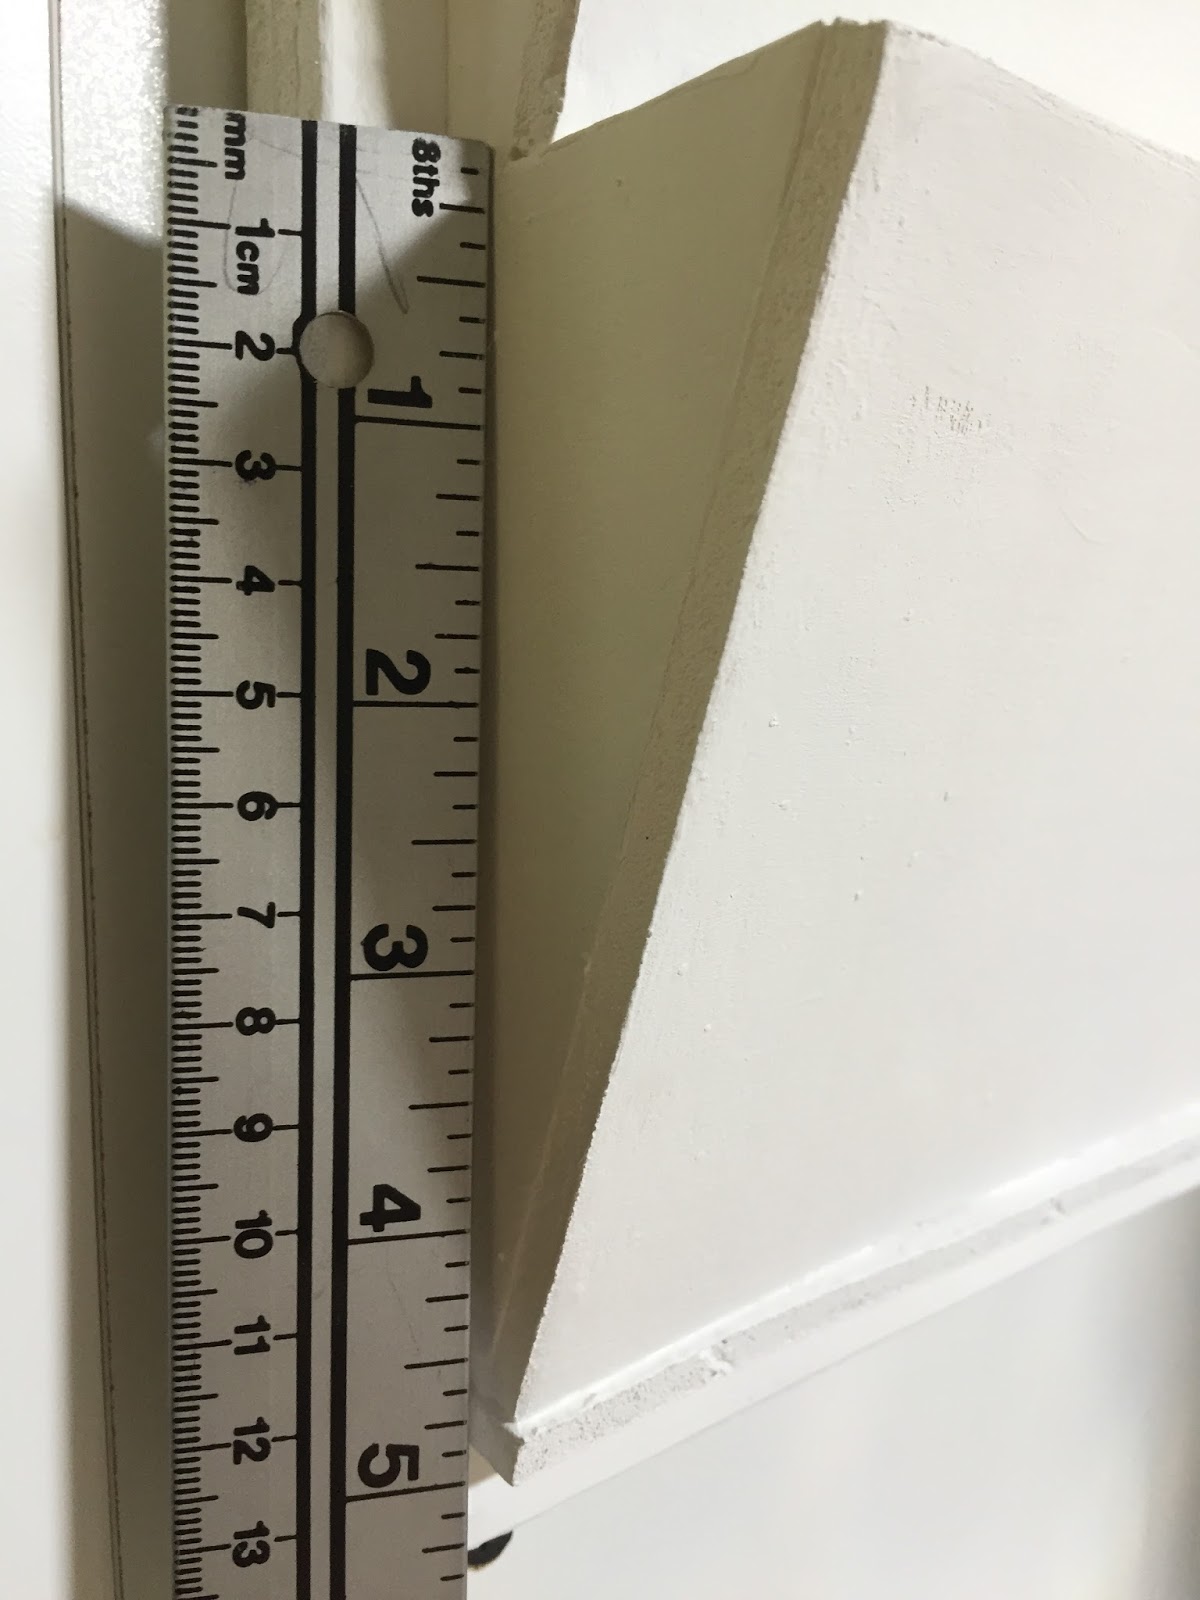
Measure the height of the can with a ruler or by placing it in the paper. You want the strip to fit between the top and bottom raised edges. Cut out the strip.


3. Wrap the strip around the can to make sure it's the correct size. Trim if necessary. Glue in place. I used an ordinary glue stick. The top edge of my cans was rolled up a bit most of the way around and I rolled it up in the places that it wasn't, because that made it easier to get the strip of paper positioned properly.


4. That's basically it! Didn't I tell you that it was easy?


OPTIONAL: Add labels to the sides and/or lids, if you want to. I printed labels off my computer using a font that looks like the "Star Wars" logo.


OPTIONAL: To make the canisters more durable, you can also cover the paper with clear contact paper or packing tape. I suggest applying the label before you do this, if you want a label, since it might not stick as well to the contact paper or tape.

Saturday, July 29, 2017

DIY Wall Mounted File Organizer


In an attempt to organize our kitchen a little better, I designed and built a wall mounted file organizer. I had looked at buying one, but couldn't find anything that fit my needs and the space where I wanted to put it. I wanted to mount it on the side of a cabinet, so I also wanted the organizer to be light weight so that I could use 3M strips to attach it, rather than screws or nails. I used foam core board, but you could use cardboard. You could also use thin wood if you want to get really fancy.

MATERIALS
- foam core board
- white glue
- ruler, pencil
- exacto knife
- acrylic paint, brush

1. Determine what size you want to make your organizer and how many "pockets" you want it to have. I wanted a letter-size piece of paper to fit "landscape" in both pockets. I chose two pockets: one for papers to be filed and one for papers to go out (letters to be mailed, coupons, etc.).

The base of my organizer is 11" wide by 14" high. I started with two pieces of foam board this size and glued one on top of the other to make a base two boards thick.


I glued 1/2" strips of foam board all the way around the front edge of my base.

2. Decide how deep you want the pockets to be. On my organizer, the bottom pocket is 4.5" deep and the top one is 5" plus it extends down inside the bottom pocket a bit.


I made the top opening of my pockets 2" from the back/base.


Draw out your side pieces so they look like two overlapping right-angle triangles. Measure the lengths of the two angled edges - these measurements will be the height of your front pieces. My front pieces are 10" wide.


3. Hold one side piece in place and mark on the top pocket front where you need to notch it so that the bottom edge of it will fit down inside the bottom pocket. Mark the opposite side of the front in the same place. Double check, then trim away the two notches.

Test-fit the pieces and make any necessary adjustments.

4. I glued a 1/2" strip on edge across the bottom of where my bottom pocket sits because I had a bit if a gap there when I test-fit the pieces.

Glue the side pieces in place. Use the fronts to ensure that you have them at 90 degrees to the back/base.

I used some more 1/2" strips inside the pockets to make the sides sturdier and ensure there weren't any gaps at the bottoms.

Glue the fronts in place. Allow all glue to dry thoroughly.


5. Paint and decorate the organizer however you please. Label your pockets, if you want to.
(The paint warped my fronts a bit, but I don't mind.)


DONE. 

What fun ways did you decorate yours? Chalk paint? Your last name? An inspirational quote? Did you label the pockets with your family members' names? I haven't decide what else to do on mine so it's still just boring and white.

Sunday, May 14, 2017

DIY PJ Masks Headquarters


Having a specific space to put a toy once they're done playing with it helps encourage kids to clean up after themselves. This is especially true when the storage solution can be part of their play, which is what I had in mind when I designed this "PJ Masks" headquarters.

On the TV show, the heroes' logos open up to allow their vehicles to exit, but I decided that trying to attach "doors" would be cumbersome and difficult. I designed this project for these specific toys, so you may have to make adjustments if your kids have a different size or style of toys.

MATERIALS
- three cylinder-shaped cardboard cans/containers with lids
- black foam core board
- black duct tape
- red, green and blue paper
- red, green, and blue acrylic paint
- white glue, glue gun, glue sticks
- pencil, ruler, marker
- scissors, exacto knife

1. Thoroughly wash and dry the three cans and lids.


2. Draw the openings onto the cans (or sketch on paper first, cut out, and trace onto the cans). Carefully cut out the shapes. Check to make sure that the toys fit through the openings and make any necessary adjustments.


3. Paint inside the cans and around the edge of where you cut out the opening. Allow to dry.

(Since the paint that I used easily scratched off my containers, I also lined the insides with paper wherever the toy might touch that was easily visible. You can skip this if you want.)

Trace the bottom of a can onto each color of paper twice and cut out the circles slightly smaller (six total, two of each color).


Measure the inside height and cut a strip of each color paper that width.

4. Line the inside of the can bottom, side and lid with the paper. Trim the paper to the correct size and glue in place.


5. Glue the lids on the cans and glue the three cans together. I used my glue gun.

Cover the top and sides of the can tower with black duct tape.


6. Cut an 8" diameter circle of black foam core board. Cut it in half, then in half again.


Glue two quarter-circles on top of the other two, forming two double-thick quarter-circles.

7. Cut two blue, two red, and two green 2" by 1.5" paper rectangles with the corners rounded on one short end. 


8. Cut four small triangles out of black foam core board. Glue together in pairs. Glue/tape to both sides of the top can along the outside edge.


9. Glue the rounded rectangles onto the foam core quarter-circles. Glue gun the quarter-circles to the sides of the middle can.


DONE. "PJ Masks all shout 'hooray', 'cause in the night we saved the day!"

Monday, February 29, 2016

DIY TRANSFORMERS Rescue Bots Blades the Helicopter Pinata

My son loves the TV show "Rescue Bots" and has requested a "Transformers" birthday party this year. After some inspiration from Pinterest, I took on the ambitious project of building a helicopter pinata that looked like the character "Blades".


Materials
- images of "Blades" for reference
- balloon
- strips of newspaper/flyers
- lots of white glue (or a mixture of 1 part warm water, 1 part flour)
- two bowls/dishes (one for the glue, one for balancing the balloon while you cover it)
- tissue paper: white, orange, blue
- strong string
- candy (individually wrapped), small toys, etc. for filling pinata
- foam core board or sturdy cardboard
- acrylic paint: white, orange, blue
- optional: printed "Rescue Bots" logo, other metallic decal/stickers
- optional: orange plastic bottle lid

1. Inflate the balloon until it is firm but not so much that it might pop. Ensure it is tied tightly. Prepare to get messy (cover your work surface with plastic or newspaper if you like). Put some glue in one dish and balance the balloon in the other. Dip the newspaper strips into the glue and remove the excess with your fingers. Lay the strips onto the balloon, overlapping slightly. Keep them as smooth as possible. Cover as much of the balloon as possible with the first layer. I let each layer dry in between but some tutorials recommend just doing all the layers at once and then letting the whole thing dry for a longer time - your choice. I did 6 layers, alternating the direction of the strips with each layer. Once the balloon is covered with all the layers and is dry, you should just have a small hole around the end of the balloon. If the balloon hasn't already began to deflate on its own, puncture it with a pin or needle and allow it to slowly deflate. Remove the deflated balloon. Sections of the pinata may be pulled inwards by the balloon if it is stuck to the glue - use a pencil, ruler or stick to push the section back out.


2. Paint the entire pinata white. Use a pencil to lightly mark the areas that will be orange (the top 1/4 of the balloon, when on its side) and blue (WINDSHIELD: the front half of the balloon, far end from the opening). Paint these areas orange and blue. Allow all the paint to dry. Do a second coat if necessary.


3. Cut two inch strips of tissue paper (all three colors), snip along one long edge approximately every 1/2 inch and about 1 inch deep. You can snip several strips at once. Don't worry about precision. Starting at the back of the balloon (hole end), glue the strips of white tissue paper with the fringe edge towards the back (hole end), from just over the edge of the orange on one side around to the other. Overlap the strips approximately 1 inch, working your way towards the front of the balloon. Make sure you don't use too much glue and leave the fringe edge loose. Cover all the area you painted white and put one row of white over the blue. Continue with the blue tissue paper until you have all the blue covered and one strip over the front of the orange. Proceed to cover the orange area with the orange tissue paper strips in circles from the blue/white up to the center of the top.


4. Carefully poke two small holes approximately 1.5 inches on either side of the very top of the pinata. Thread a three-foot (1 meter) long string through (I used a stiff wire to guide it). I put a circle of white foam core board covered in white tissue paper on the top of the pinata, between the holes. (Cardboard will work too. Paint it white before applying the tissue paper.)


5. PROPELLER: Cut two long strips of foam core board or cardboard the same size (approximately 2 feet long and 3 inches wide). Glue them together. Once the glue is dry, paint them orange. Once the paint is dry, cover the entire thing with orange tissue paper strips. Once it's dry, poke a small hole in the exact center. Thread both ends of the string from the top of the pinata through this hole. Poke/drill a hole through the orange bottle lid and thread both ends of the string through it. Tie a large knot to secure the strip of foam core board/cardboard and lid down to the top of the pinata. (You can skip the lid or use a different color lid.)


6. Glue a "Rescue Bots" logo on the blue near the front underside of the pinata (optional). FLOATS: On the bottom of the pinata, poke two small holes approximately three inches on either side of the center. Cut 8 strips of foam core board or cardboard (paint white) about 1 foot long and 3 inches wide. Glue them together as two sets of four. Paint the top side orange.Cover the sides/edges with white tissue paper strips (hanging down). Cover the top with orange tissue paper strips. Once dry, poke a small hole in the exact center of each.


7. Thread the ends of the string from the bottom of the pinata through these holes (orange side towards the pinata). Tie large knots in the ends of the string to secure the pieces of foam core board/cardboard to the bottom of the pinata. Trim away the excess string.


8. Poke a small hole on either side of the hole at the back end of the pinata. Fill the pinata with candy, toys, etc.


9. Use some scraps of foam core board/cardboard that will fit through the hole. Poke holes through them and thread a foot-long piece of string through them. Put this assembly inside and pull the string ends through the holes in the pinata. (See picture.)


10. TAIL: Build a tail out of three layers of foam core board/card board (painted white), referring to pictures of "Blades". Make the end that will be attached to the pinata the same size as your hole. (You may have to trim the hole bigger for the tail to be strong enough and the right scale.) Paint the orange areas orange. Cover with white and orange tissue paper strips. Add the circular parts, covered in white tissue paper. Once assembled and dry, poke a small hole through approximately 3/4 inches from the end that will attach to the pinata. Thread one end of the string from the back end of the pinata through the hole. Apply glue to the edge/end of the tail and poke it inside the hole against your scrap assembly inside. Tie the ends of the string together tightly, pulling everything together to secure it. Add stickers to the center of the circles on the tail if you want.


11. Fill in around the tail with half-circles of foam core board/cardboard (painted white) and white tissue paper, covering the hole and the string/knot.


12. DONE! Whew! This took me a long time to assemble. Take your time, refer to your pictures of "Blades" often, and use longer strings than you think you need. 

NOTE: If your kid(s) want to help, depending on their age(s), they can fill the pinata with candy or perform any of the other steps that you feel they are able to, but be cautious about having them poke the holes or doing other cutting.

Also, you can alter the color scheme, logos, and tail design however you want and build any other kind of helicopter using this method. The key is reference photos so that you end up with something that looks like what you had in mind.

Friday, June 1, 2012

DIY Zamboni (Papercraft)

I designed this to use as party favor boxes with the intention of having kids color and asssemble them. I printed them on different colored cardstock.

Wednesday, April 4, 2012

Origami Easter Flowers

I just folded an origami sunflower with blue paper and put a 2" square photo of my son in the center to send as a thank you for an Easter present. It's super cute and easy. Here is the link to the pattern again: Origami Sunflower.

Tuesday, April 3, 2012

Origami Flowers

I found this cute origami sunflower pattern the other day and had to try it. I used a 6" square of yellow origami paper and a 2" square of brown for each flower. These are also cute in other colors, and I think they would be adorable with a photo in the center.